
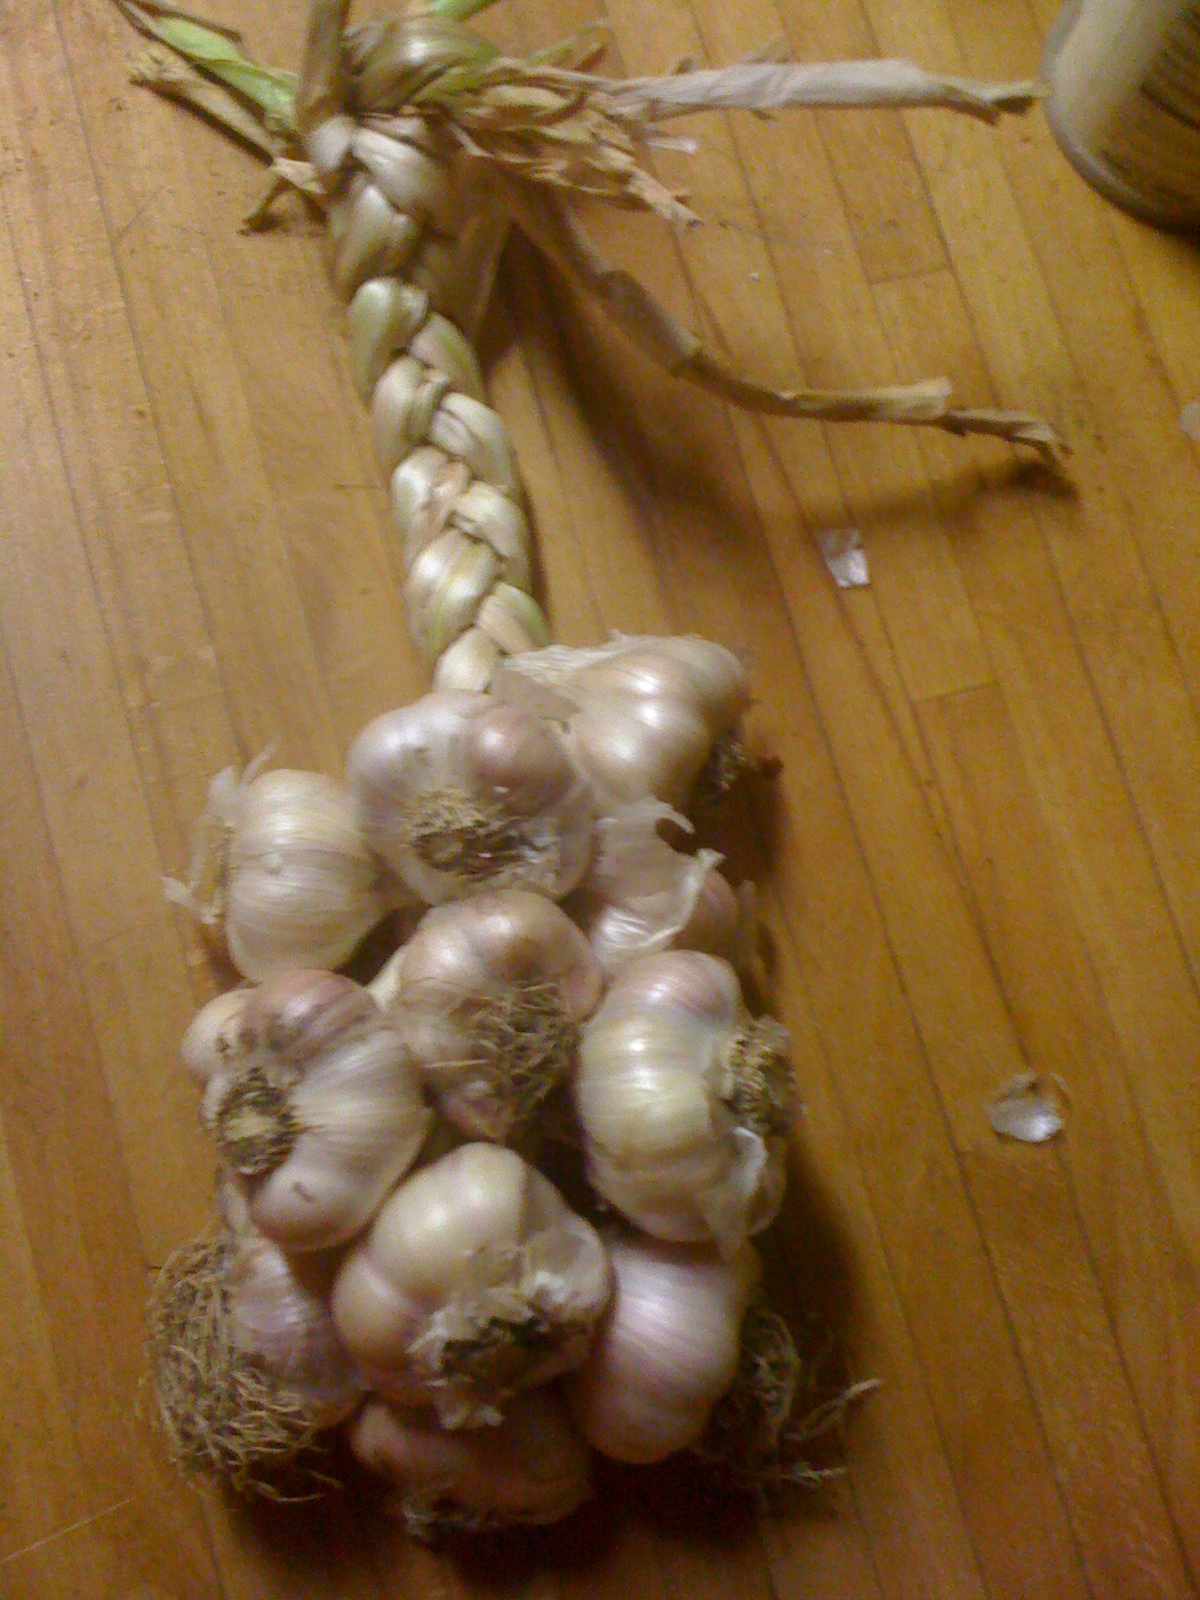
Okay, so Janet asked about garlic braiding. I do not have the perfect approach because I have not figured out how to do it so that the actual braid does not show. That being said let me show what I do. First, we are talking about soft neck garlics. After harvesting let them dry for a few days. At least that's what I do. Then I strip and clean the stalks to make them ready to braid. This process is a judgment call. Essentially, I strip off the dirty outer layers of skin to get the stalk down to a size that would work to braid. It just takes practice and experience to decide what works. The actual braiding is like french braiding for those who have done it.
Start with three bulbs and tie them together with string. Then add (remember french braiding) a bulb and blend its stalk with either the left or right one and overlap them both to the middle. Then add another and blend its stalk with the one from the opposite side as it's worked to the middle in typical braiding action.
The images show the view from the front where the bulbs are added and then the reverse side where you see the braid.
2 comments:
Those look beautiful! I can't wait to try it, but my instructions said to cure the garlic for 1-2 months. I guess I could still braid it, though - right? At last, all that braiding of Jessie's long thick hair will pay off!
I do not know what is meant by the curing. What I have learned by doing it is that braiding works best while there's still green in the stalk. If the stalk is totally dried then usually the bulb just falls off. I just dealt with that because I couldn't get to the next batch of garlics, the Lorz Italians, until just now. They had been 'curing' for the last two weeks. The stalks were totally dry and I had a hard time making any braids. And yes, experience in braiding hair, especially french braiding, does pay off!
Post a Comment